

One thing I have focused on teaching my son since starting homeschool, is where he lives. Yet teaching geographical concepts and answering “Where Do I Live?” to a 5-year-old is a lot more complicated than it seems.
After all, we live in a city, in a state, in a country and a continent. That’s a lot to remember!
After attempting to explain it all (to the best of my ability!) Rylan is still left thinking there are 7 continents in Virginia and we live in the state of South America. Now you see my dilemma…
I understand that in time he will grasp the vastness of the Earth and then be able to put it all into perspective, but I definitely feel there are better ways to visually make this easier for him.
So today when his school had a “snow” day, I wanted to break out the craft supplies and do something fun and educational that might just answer “Where do I live?”
I came across this project by 123 Home School 4 Me and decided it was perfect. Not only would it help with address memorization, but it scales from the bigger picture (Earth) to the smaller picture (home) and gives children a better understanding of ALL the locations they live, right down to the street and house number.
And as Rylan is learning about maps in school, I figured it would be a great addition to his general education as well. Follow along to see how we made ours!
This “Where Do I Live?” project gives children a better understanding of ALL the locations they live, right down to the street and house number.


1. Gather your supplies!
- Construction Paper (I cut these into squares, starting with 3″x3″ and then marking the others 1″ larger than the previous one)
- Coloring Supplies
- Hole Puncher
- Glue Stick
- Self-Adhesive Laminating Sheets (optional)
- Printer Paper for the images (I cut these into squares, starting with 2″x2″ and then marking the others 1″ larger than the previous one)
- Binder Ring or String to put it all together
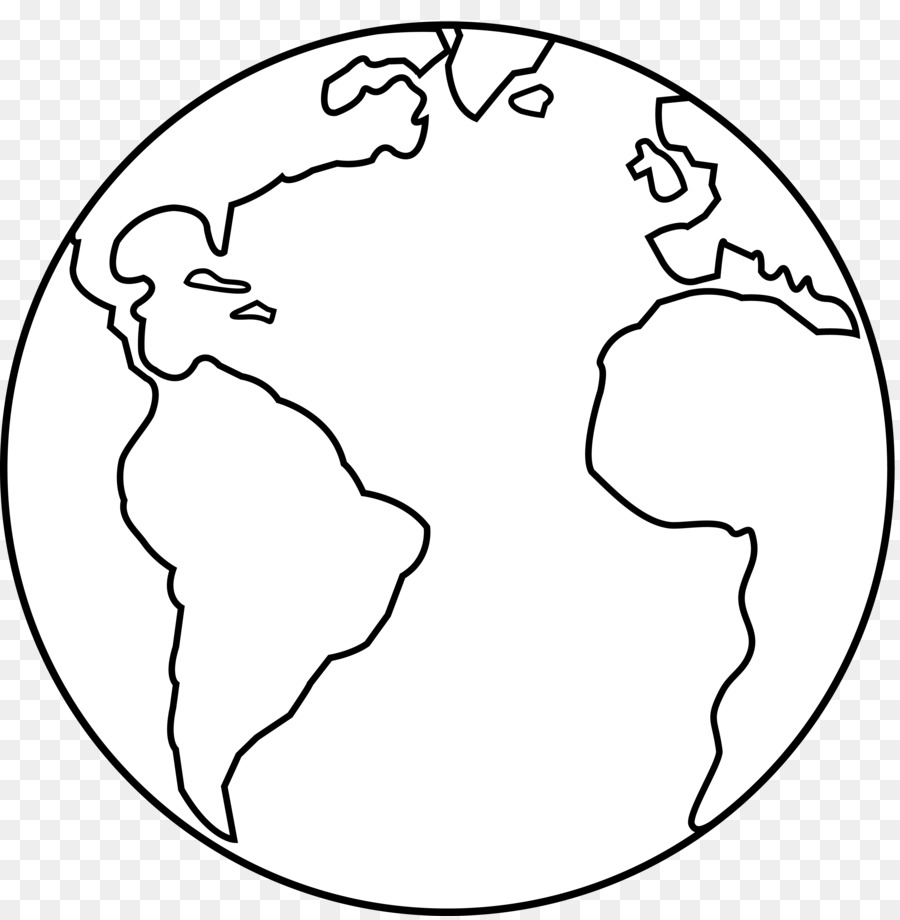
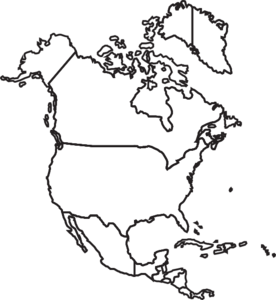
2. Print out pictures of your country, state, city, etc.
The following images were specific to us, but I am happy to share them with you. You can easily google “_____ clip art” and find the images that apply to you.
Print your images on plain paper and cut out.
3. Cut your construction paper backgrounds
Cut your construction paper into different sizes. As the sizes get smaller, the more concentrated the geographical areas are. Then label them, starting with the largest paper:
- Planet
- Continent
- Country
- State
- City
- Street
- House Number
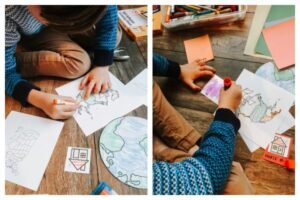
4. Get creative!
It’s key to give your child a lot of freedom with this project – to encourage learning, creativity and fine motor skills.
I asked Rylan to look at the pictures and color land vs. bodies of water, the different countries and even the state of Virginia in a different color.
When they are done, have them use the glue stick and place the images to the corresponding construction papers (this is a good way to test if they understand geography locations as well).

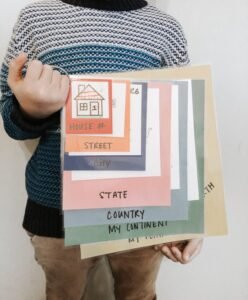
5. Tie it all together!
Optional: Use self-adhesive laminate on your sheets to make them last longer.
Punch holes in the top left corner and encourage your child to string and tie together the sheets (we used a spare binder ring). Your “Where Do I Live?” project is done!
The project was super easy and although it required a little digging for images, I feel confident it is going to help teach him more about where we live in the world – a vital life skill to prepare your child with. It’s also a good source of reference as he continues to memorize our address!
Have you tried this project? Has another one worked for your child? Please feel free to share your thoughts!


