
Easy Surga88 DIY Crafts That Won’t Cost a Fortune
Easy DIY Crafts That Won’t Cost a Fortune DIY crafts are a great way to express creativity, unwind, and even make personalized gifts for friends

Easy DIY Crafts That Won’t Cost a Fortune DIY crafts are a great way to express creativity, unwind, and even make personalized gifts for friends
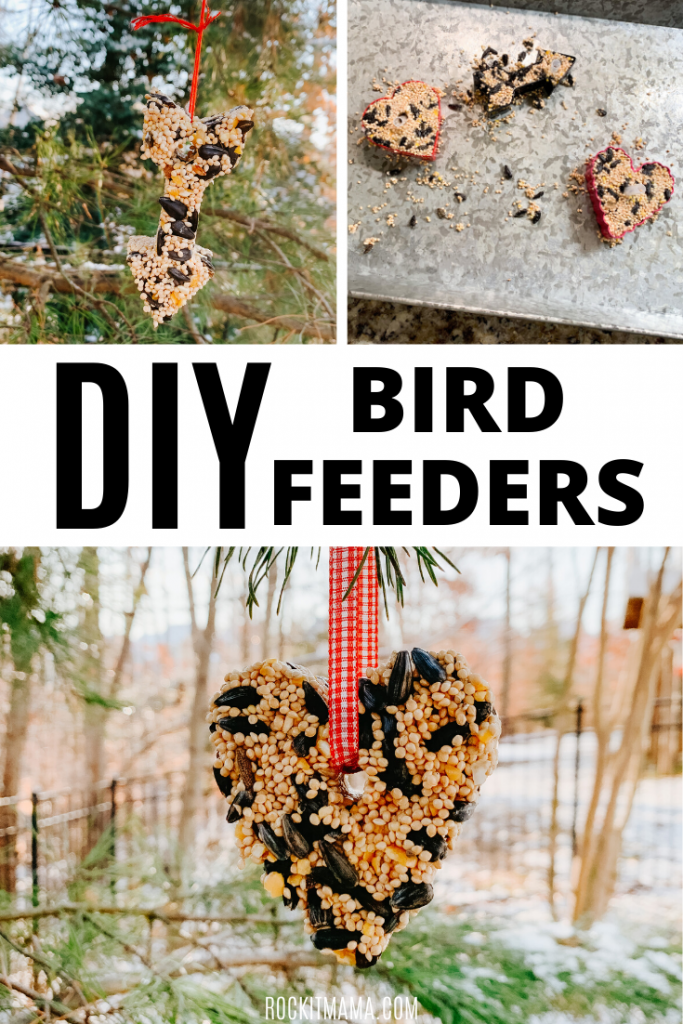
It’s almost Valentine’s Day and I’ve been on the hunt for a homemade, candy-free, nature inspired gift that my son can hand out to relatives

While I’m sure you’ve heard of painted rocks, the question stands: Have you heard of story stones? I had not, until a few short weeks

Spring has (basically) sprung in our neck of the woods, accompanied by all of the outdoor activity we love about warmer weather. Yet with this

With the cold weather letting up, now is the perfect time to get outdoors! We’ve put together some fun, yet simple
Shew. 2020. What a ride it has been. I believe I can speak for everyone when I say, we will be happy to put this
As a parent with progressive values, raising kids with big hearts, open minds, and critical thinking skills is extremely important to me. I didn’t learn
If your household is anything like mine, bedtime is a serious struggle. As much as I try to wear my kids out during the day
This post may contain affiliate links, which means that we may receive a commission, at no cost to you, if you make a purchase using
School closures and stay home orders have us running out of ideas to keep kids entertained while stuck at home. Some days it is downright