How is it that the second child’s first year flies by even faster than the first? I’m over here scratching my head trying to figure out where the time went. It feels as though we were just in the hospital introducing him to big brother and yet here we are, only a few weeks away from his first birthday, setting up a cake smash photo shoot. (Don’t mind me, I’ll just be over here in my feelings)
With time having left us little to work with, I decided to set up an in-home cake smash photoshoot for his first birthday so I could have the photos in time for his party. I feared that most professional photographers would be be booked by this point and I wanted to flex some creative muscles as photography is definitely a hobby of mine.

This post may contain affiliate links, which means that we may receive a commission, at no cost to you, if you make a purchase using these links.
I can only describe the in-home cake smash as a huge success! The photos are priceless. The experience was incredibly fun and it became a family ordeal, as big brother helped draw big smiles (as only a big brother can) and Dad assisted with props.
The birthday boy normally doesn’t stop moving and can be difficult to capture. However, the cake kept him anchored in place long enough to snap some great photos. Once all was said and done, we had a few bites of what was left of the decimated treat.
I want to empower other moms to have some fun with their own cake smash photo-shoots because it truly is so easy! Save time and money and capture some memories without having to leave the house. Flex full control over the shots you want to frame and print at your leisure without acquiring extra cost.
Here is a step-by-step guide explaining how to create your own cake smash photo-shoot at home!
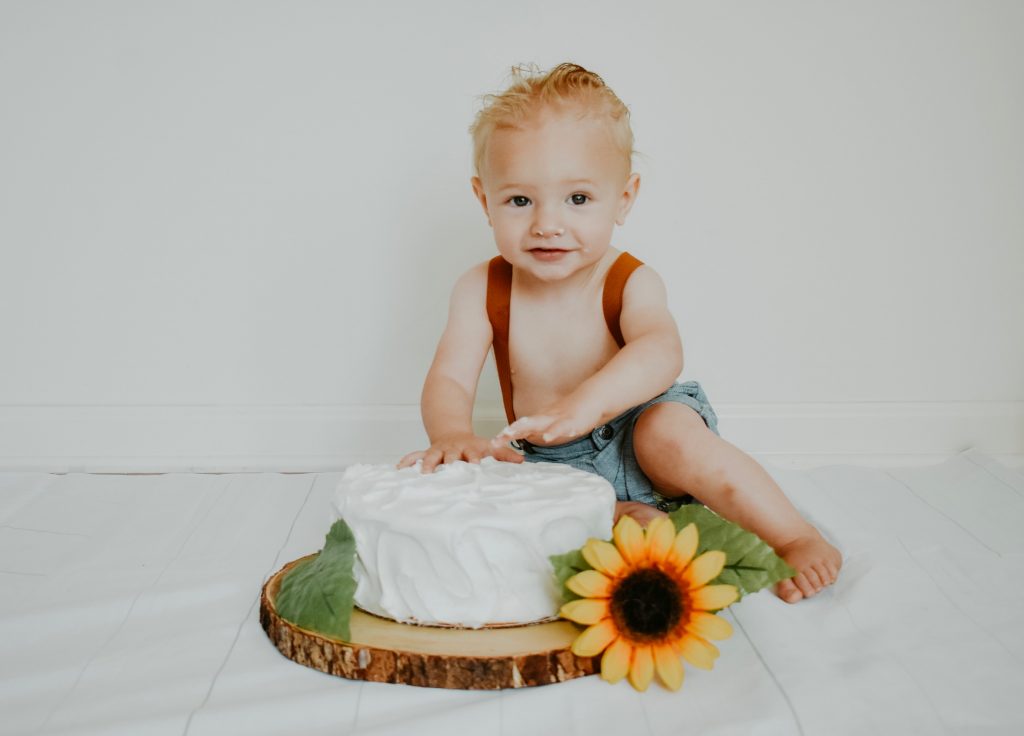
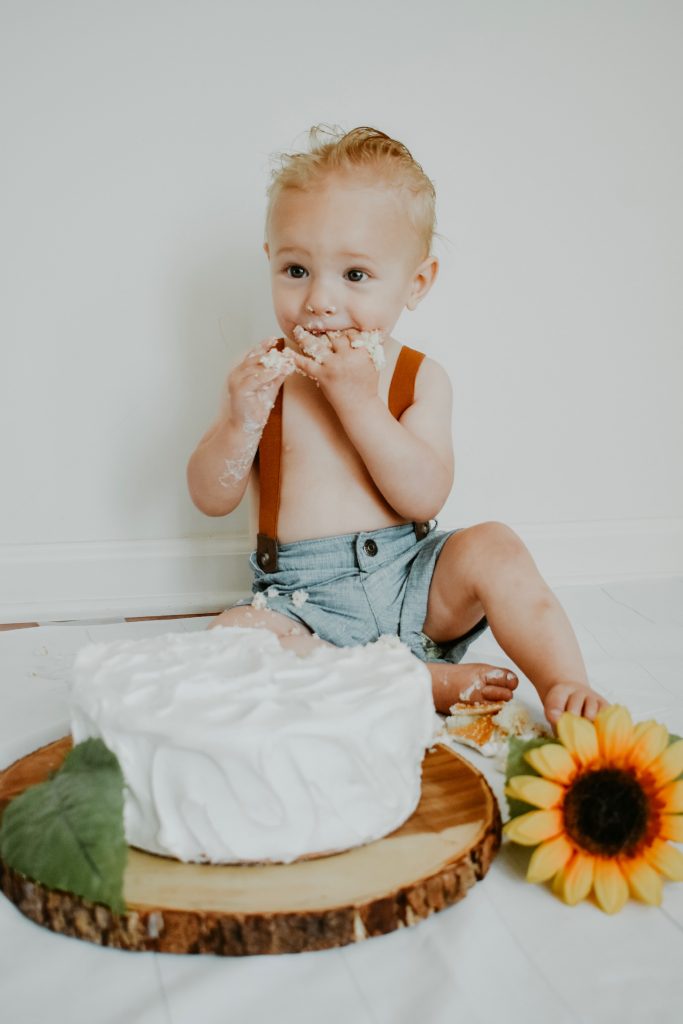
Step 1.) Find a Location
The lighting and background of your photo-shoot will play a huge role in the quality of your photos. Select a spot in your home with plenty of natural light. Use the space in front of a big window or sliding glass door. Turn off any overhead lights to prevent orange and brackish coloring in the photos.
If there isn’t an ideal location inside, outside will work too. Be sure to choose a time of day where the shadows won’t be overpowering your subject.
The background should be plain and simple. Use a white wall or purchase a backdrop on amazon that can be hung or used as a faux white wood floor. These elements ensure that baby will be the central focus of each capture. I’ve linked one below. A white sheet will work just as well!
Step 2.) Cake, Props & Clothing
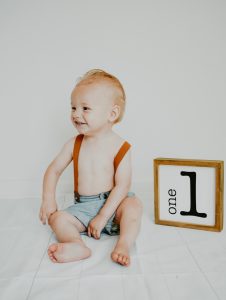
The cake, props and clothing you choose will help develop the theme of the shoot. For example: because the theme of my son’s first birthday is barnyard animal, I used a simple cake on a rustic wood platter with a few sunflowers, and added suspenders to his shorts for a farm feel. I also used a sign for the pre-cake photos simply to indicate the occasion.
Tip: Balloons are a cheap and easy prop. Scatter them around and snap photos of baby chasing after them.
To continue to keep costs low, find a toy or piece of decor around the house to boost the theme of the photos. Bake a cake or grab a cheap one from the supermarket. I purchased the cake featured in my son’s photos at Target for $10. The “One” prop used in the photos below I picked up from a craft store for $5.



Step 3.) Camera
For this step, the good old iPhone (especially in portrait mode) will do just fine. But for full disclosure purposes, I wanted to note that when capturing these photos I used my Nikon DSLR D3400, linked below.
Now, I know what you’re thinking: we were supposed to be saving money here and that camera sets me back almost $400. Hear me out: since purchasing that camera when my first child was born, I’ve used it on many occasions that I probably would’ve paid a photographer to capture. Birthdays, holidays, vacations, and everyday moments in between, the Nikon has taken some incredible photos and in the long run has definitely saved us money.
This my advice: Hire the professional for monumental family moments when mama, you need to be in there too. Invest in the camera for the smaller occasions. Or, if you’re totally cool with the iPhone quality then use the iPhone. I’ve snapped some awesome photos with my iPhone camera as well.
Step 4.) Take as Many Photos as Possible
When the shoot is all set up, the props are handy, and baby is happy and ready, start snapping and DON’T STOP! Snag as many shots from as many different angles as possible.
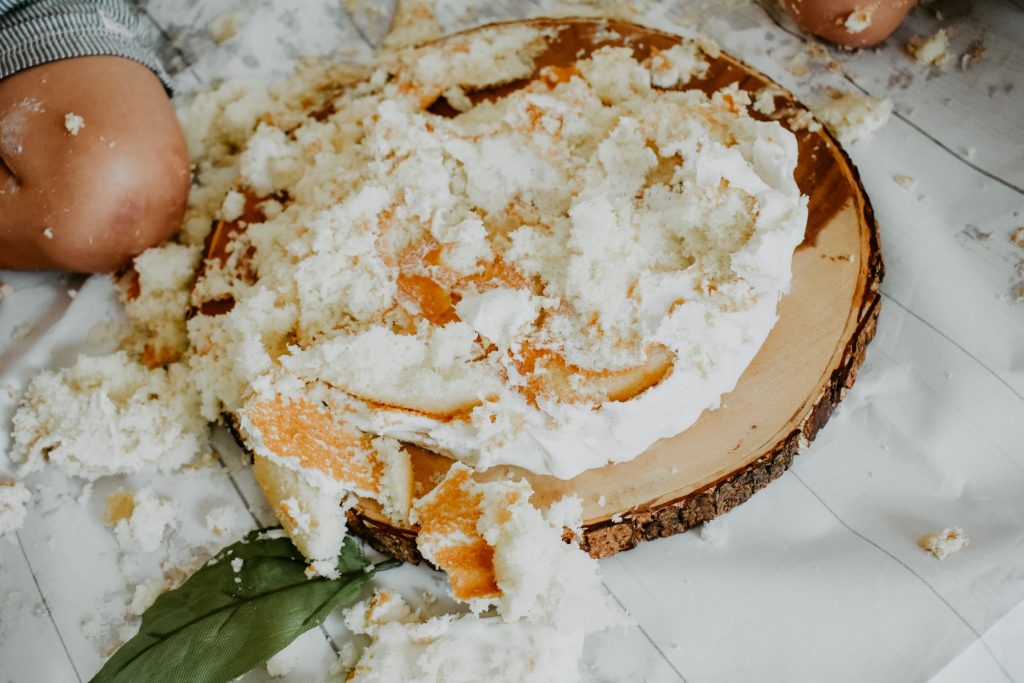
Focus in on the details of the cake, the messy hands and the cake covered faces. The more photos you have the more likely you are to be happy with the outcome. It’ll also be easier to select the best photos for editing!



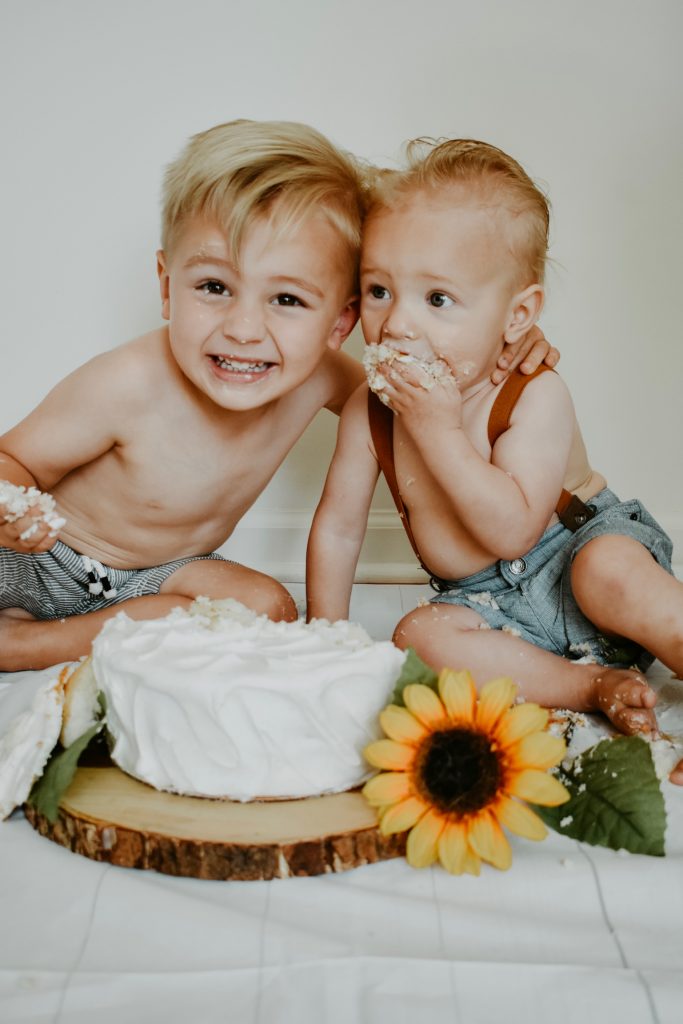
We even let big brother get in on the action!
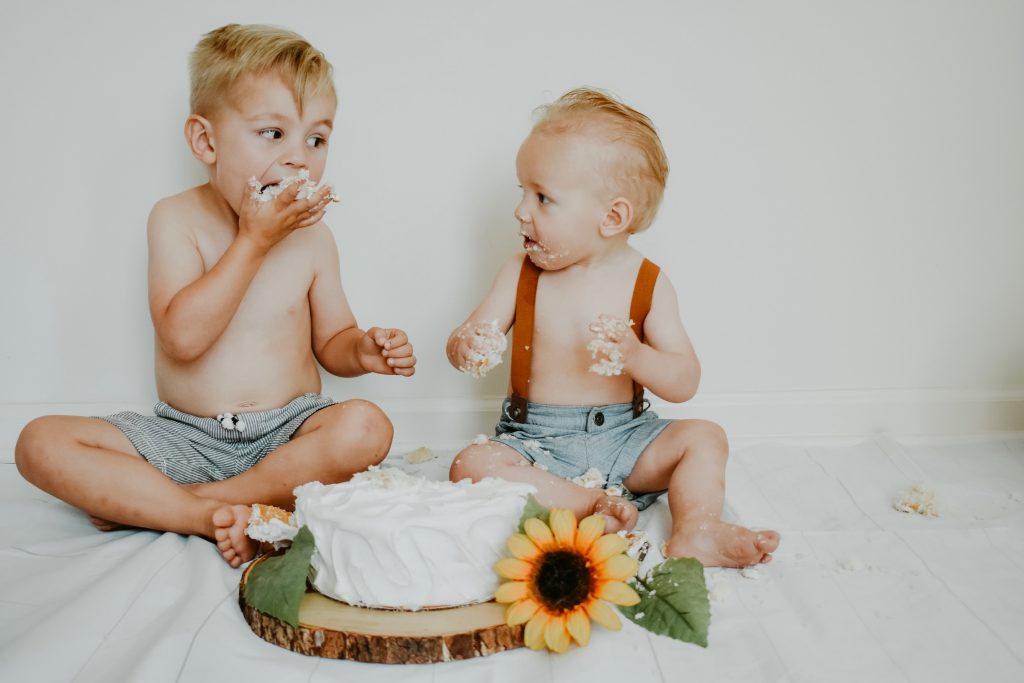
The Aftermath…
Step 5.) Culling and Editing
Now that you have an amazing crop of photos, it’s time to decide which ones to edit. Pick your favorites and make sure there is a solid variety with good resolution and quality lighting. Those will withstand the editing process the best.
For editing I use the Lightroom app on my phone. It’s free and will provide the best quality photos without having to pay for an expensive editing program.
Feel free to edit the photos to your liking OR you can do what I do, and use a Lightroom mobile preset to enhance your photos. Below you can see the before preset and after preset photos.
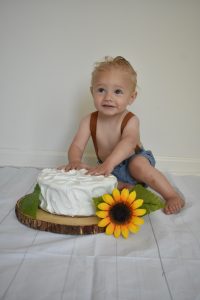

I’ve linked my favorite lightroom presets here but you can always browse Pinterest or Etsy for presets that provide the desired feel. Some are free and others may charge a small fee.
LET THERE BE CAKE (smash photo shoots!) We hope you enjoyed our step-by-step guide on how to create your own cake smash photo-shoot at home and feel inspired to get creative! Please share photos of your DIY shoots!
Craving more DIY treats? Check out our Homemade Air Fryer Poptarts!
